

10 Small Balcony Ideas Apartment Tiles

Introduction
Why This Idea Is Trending or Useful
Small balcony tile designs are trending ideas because they offer a practical way to upgrade outdoor spaces without major renovation. Many apartment balconies have plain concrete floors that lack structure and visual appeal. Tiles provide a clear solution by improving both durability and design. This approach aligns with modern design trends that emphasize clean surfaces and organized layouts. The DIY aspect makes these projects accessible, allowing users to apply tiles or tile-style coverings without advanced skills. These setups support organization by defining areas for seating or decoration. The visual appeal contributes to Pinterest inspiration boards due to neat patterns, balanced color schemes, and functional layouts. These designs are adaptable to different balcony sizes and shapes. Another advantage is cost control, as tile options can be selected within budget ideas. The installation process can be simplified using modular or interlocking tiles, making it beginner friendly. Overall, tiled balconies provide a structured and efficient way to improve small outdoor areas.
Materials and Preparation
Preparing a small balcony for tile installation requires careful planning to ensure durability and safety. Common materials include ceramic tiles, porcelain tiles, interlocking deck tiles, adhesive, grout, and sealant. Waterproofing materials are essential to protect the underlying surface. Basic tools include a measuring tape, tile cutter, trowel, level, and rubber mallet. Preparation begins with cleaning the balcony surface thoroughly to remove dust and debris. The surface should be checked for cracks or uneven areas and repaired if necessary. Waterproofing should be applied before tile placement to prevent moisture damage. Planning includes selecting tile size, pattern, and layout based on balcony dimensions. A layout sketch helps maintain alignment and reduces material waste. Drainage must be considered to avoid water accumulation. Proper spacing between tiles ensures even placement and structural stability. This preparation process ensures that the final result is durable, organized, and visually balanced.
Idea 1: Neutral Tone Grid Tile Layout
How to Create
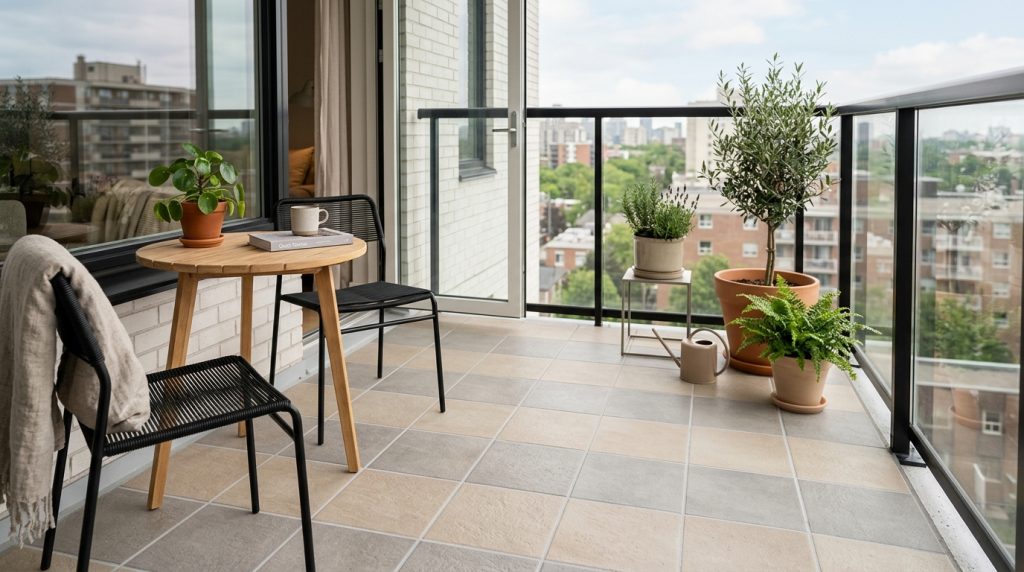
A neutral tone grid tile layout focuses on simplicity and structured alignment using square or rectangular tiles arranged in a straight pattern. This design uses colors such as beige, gray, or soft white to create a calm and balanced surface. The grid arrangement ensures that the space appears organized and visually expanded. This concept aligns with minimalist style and modern design principles. It is suitable for small balconies where visual clarity is important. The consistent pattern reduces visual clutter and provides a clean foundation for additional home decor elements. This design is widely used in Pinterest ideas due to its adaptability and easy maintenance. The neutral tones also allow flexibility in adding furniture or decoration without creating contrast imbalance. This approach is practical for everyday use and supports long-term durability.
The installation process begins with measuring the balcony floor and marking a central alignment line. Tiles are placed starting from the center and extended outward to maintain symmetry. Adhesive is applied evenly using a trowel, and each tile is pressed firmly into place. Spacers are used to maintain consistent gaps for grout application. After placement, grout is applied between tiles to secure them and prevent movement. The surface is cleaned to remove excess material. This step by step method ensures accurate alignment and stability. Proper leveling is essential to avoid uneven surfaces. The final result is a structured and clean balcony floor that supports organization and functional use.
Idea 2: Wooden Look Tile Balcony
Step-by-Step Guide
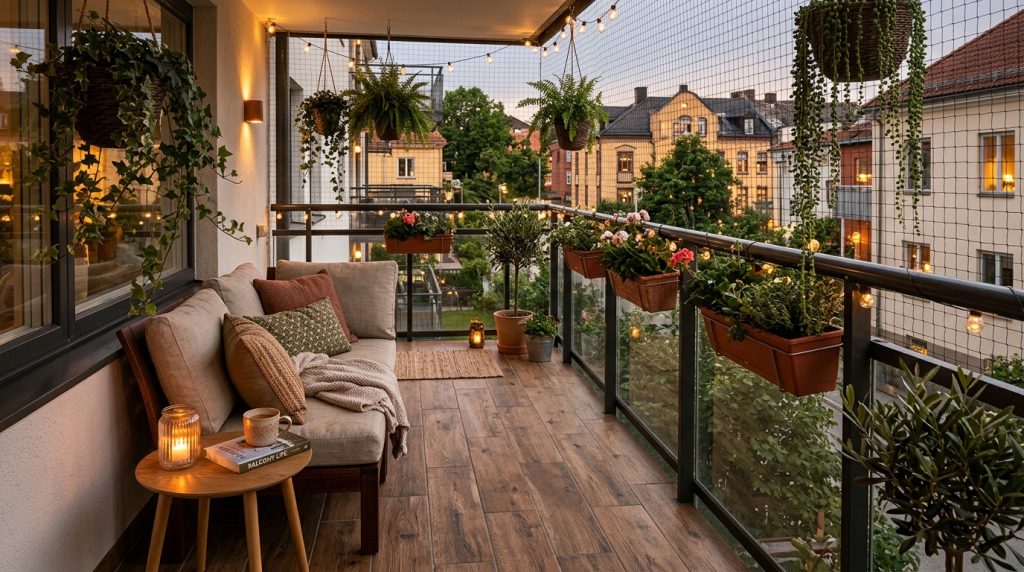
Wooden look tiles replicate the appearance of natural wood while providing the durability of ceramic or porcelain materials. This design is suitable for creating a warm and structured balcony environment. The tile surface mimics wood grain patterns, adding texture without requiring maintenance associated with real wood. This idea aligns with modern design and aesthetic outdoor setups. It is commonly featured in Pinterest inspiration due to its natural appearance and practical benefits. The layout can be arranged in straight or staggered patterns to enhance visual interest. This design supports both relaxation and functional use. The use of tile instead of actual wood ensures resistance to weather conditions and easier cleaning.
The setup process includes preparing the balcony surface and applying waterproofing. Tiles are arranged in a plank-style pattern to replicate wooden flooring. Adhesive is applied evenly, and tiles are pressed into position with proper spacing. A level is used to maintain alignment. Grout is applied to secure the tiles and enhance durability. The surface is cleaned after installation to remove residue. This tutorial approach ensures a realistic wood-like finish while maintaining structural strength. Proper planning of tile direction improves visual flow. The final result is a durable and organized balcony with a natural aesthetic.
Idea 3: Patterned Mosaic Tile Design
How to Make
A patterned mosaic tile design introduces detailed visual elements through small tiles arranged in decorative patterns. This concept focuses on creating a focal point within a small balcony. The patterns can include geometric shapes or repeating designs that enhance visual structure. This idea is suitable for users who want to add a decorative element while maintaining organization. It is commonly used in creative ideas for balcony transformation. The mosaic pattern provides a unique aesthetic while maintaining a compact layout. This design works well in small areas because it draws attention without requiring large elements.
The creation process involves selecting mosaic tile sheets for easier installation. The balcony surface is prepared and leveled before applying adhesive. Mosaic sheets are placed carefully to maintain pattern continuity. A roller or flat tool is used to press the tiles evenly. Grout is applied to fill gaps and secure the structure. Excess grout is cleaned to reveal the pattern. This step by step method ensures precision and durability. Proper alignment is essential to maintain design consistency. The final result is a visually detailed and organized balcony surface.
Idea 4: Diagonal Tile Layout
Setup Method
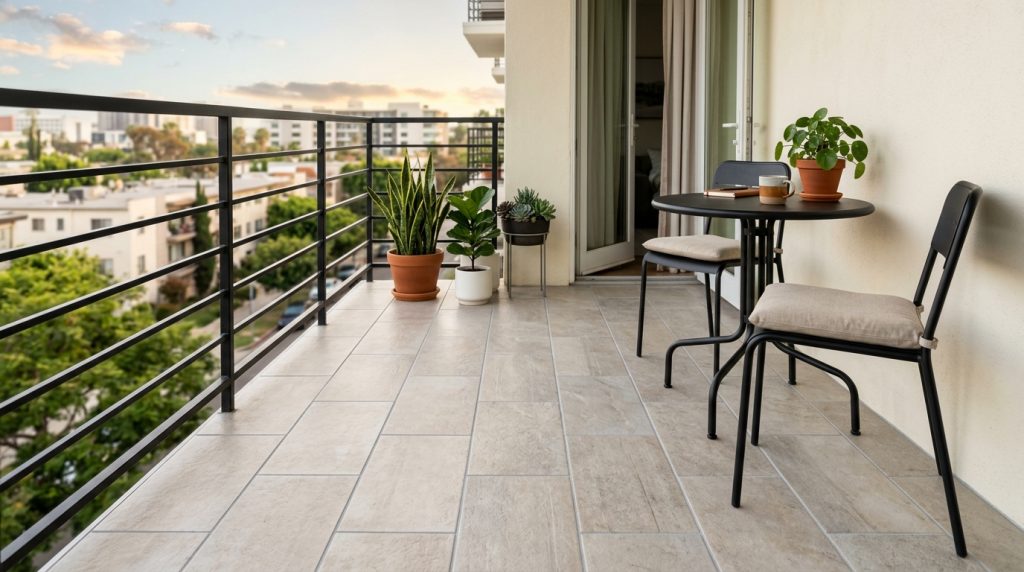
A diagonal tile layout involves placing tiles at a 45-degree angle instead of a straight grid. This design creates the illusion of a larger space by altering visual direction. It is suitable for small balconies where expansion of visual perception is needed. The angled pattern adds movement and variation without increasing complexity. This idea aligns with modern design principles and is frequently used in Pinterest ideas. The layout remains structured while introducing subtle variation. It also helps reduce the appearance of uneven walls or edges.
The setup process begins with marking a diagonal guideline from one corner of the balcony. Tiles are placed along this line to establish alignment. Adhesive is applied evenly, and tiles are positioned carefully to maintain spacing. Edge tiles may require cutting for proper fit. Grout is applied after placement to secure the structure. The surface is cleaned thoroughly. This method ensures a balanced and visually expanded layout. Proper measurement is essential to maintain symmetry. The final result is a dynamic and organized balcony design.
Idea 5: Black and White Contrast Tiles
How to Create
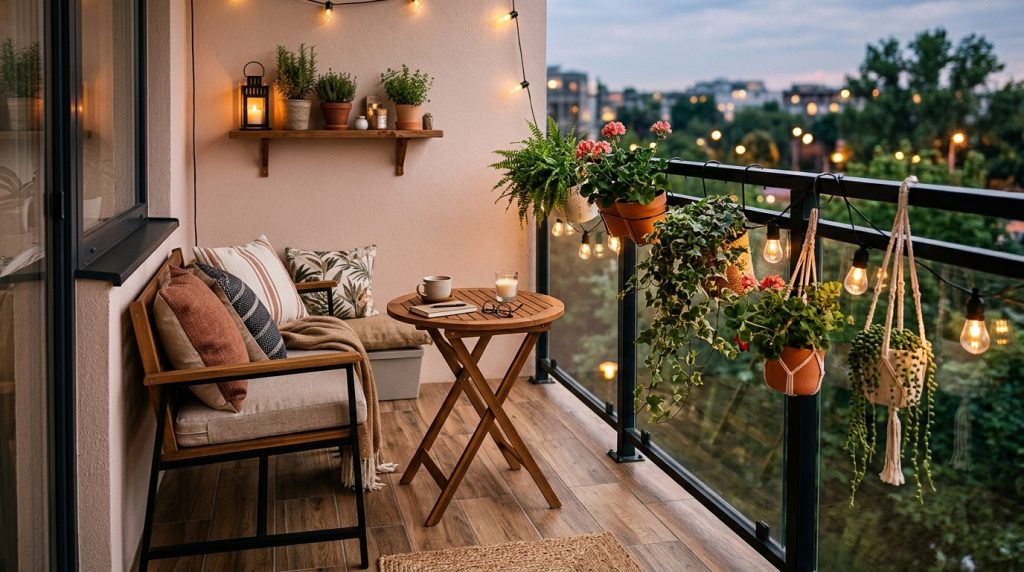
Black and white contrast tiles create a structured and bold visual effect using alternating colors. This design focuses on clear pattern definition and strong contrast. It is suitable for modern design setups where visual clarity is important. The pattern can be arranged in a checkerboard layout to maintain organization. This idea is commonly used in aesthetic home decor concepts due to its balanced contrast.
The construction process involves marking the layout and placing tiles in alternating colors. Adhesive is applied evenly, and tiles are aligned carefully. Spacers ensure consistent gaps. Grout is applied to secure the tiles. The surface is cleaned to enhance contrast. This step by step method creates a clear and organized design. Proper alignment ensures consistency. The final result is a visually striking and structured balcony.

Idea 6: Interlocking Deck Tiles
Execution Process
Interlocking deck tiles are modular units that snap together without adhesive. This design is suitable for easy project setups and beginner friendly installations. The tiles are placed directly on the balcony surface, creating a stable and removable flooring solution. This idea supports quick transformation and flexible layout changes.
The process includes cleaning the surface and placing tiles starting from one corner. Each tile is connected using interlocking edges. The layout is adjusted to fit the space. Cutting may be required for edges. This method requires minimal tools and time. The final result is a functional and organized balcony floor.
Idea 7: Textured Stone Tiles
How to Create
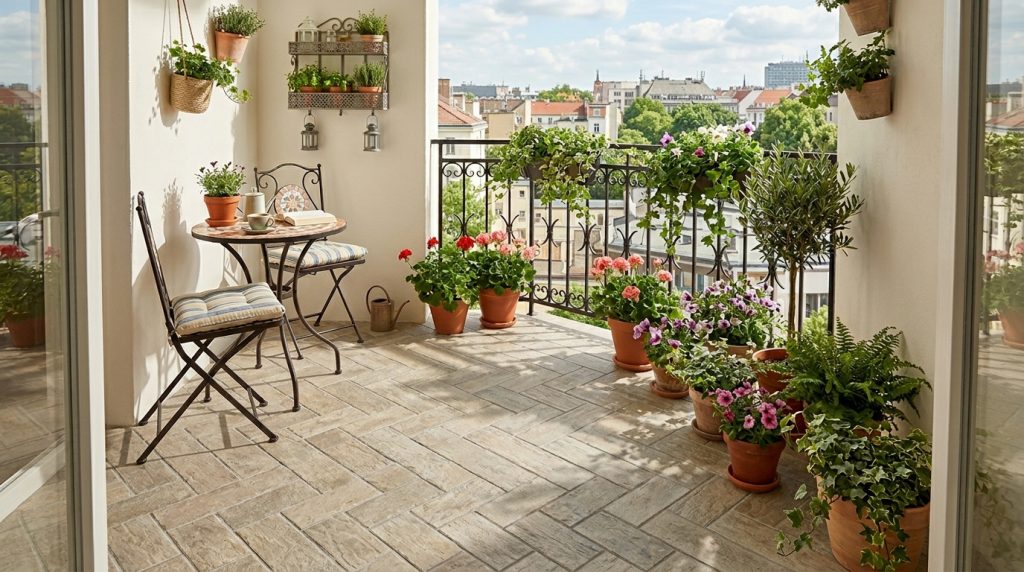
Textured stone tiles provide a natural and durable surface with slip resistance. This design is suitable for outdoor conditions and adds a structured appearance. The texture enhances safety and visual depth. This idea aligns with practical home decor solutions.
The installation process includes preparing the surface and applying adhesive. Tiles are placed evenly and aligned carefully. Grout is applied to secure the structure. The surface is cleaned after installation. This method ensures durability and functionality.

Idea 8: Minimalist Large Format Tiles
Step-by-Step Guide
Large format tiles reduce the number of joints, creating a clean and continuous surface. This design supports minimalist style and modern design concepts. It is suitable for small balconies where simplicity is important.
The setup process includes measuring the space and placing large tiles carefully. Adhesive is applied evenly. Tiles are aligned with minimal gaps. Grout is applied to secure the structure. This method creates a smooth and organized surface.
Idea 9: Mixed Tile Pattern Zones
How to Make
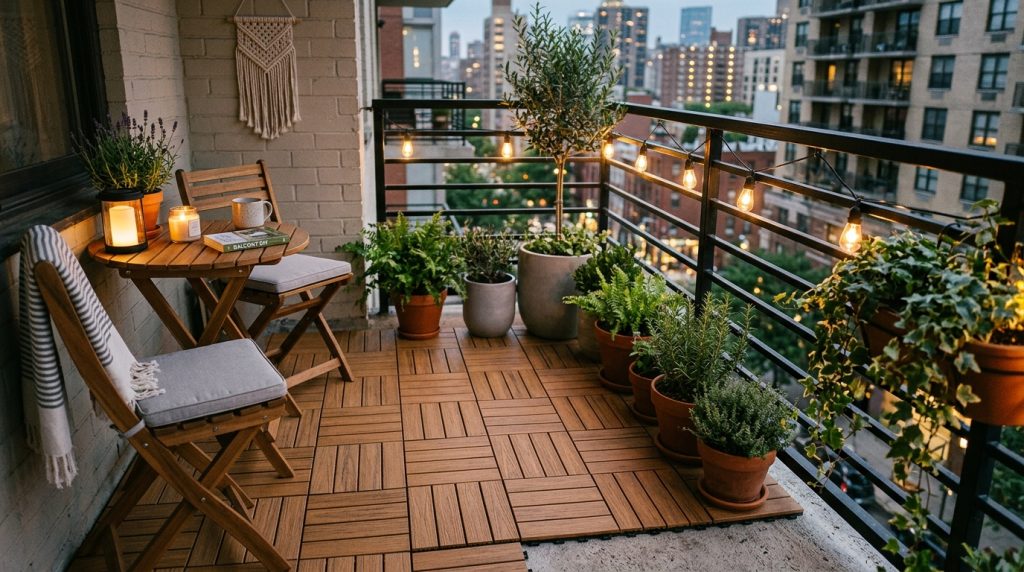
Mixed tile pattern zones divide the balcony into sections using different tile styles. This design supports organization and functional zoning. It is suitable for balconies used for multiple purposes.
The process involves planning zones and placing different tiles in each section. Adhesive and grout are applied as needed. Proper alignment ensures clear separation. This method creates a structured and functional layout.
Idea 10: Outdoor Rug Style Tile Layout
Setup Method
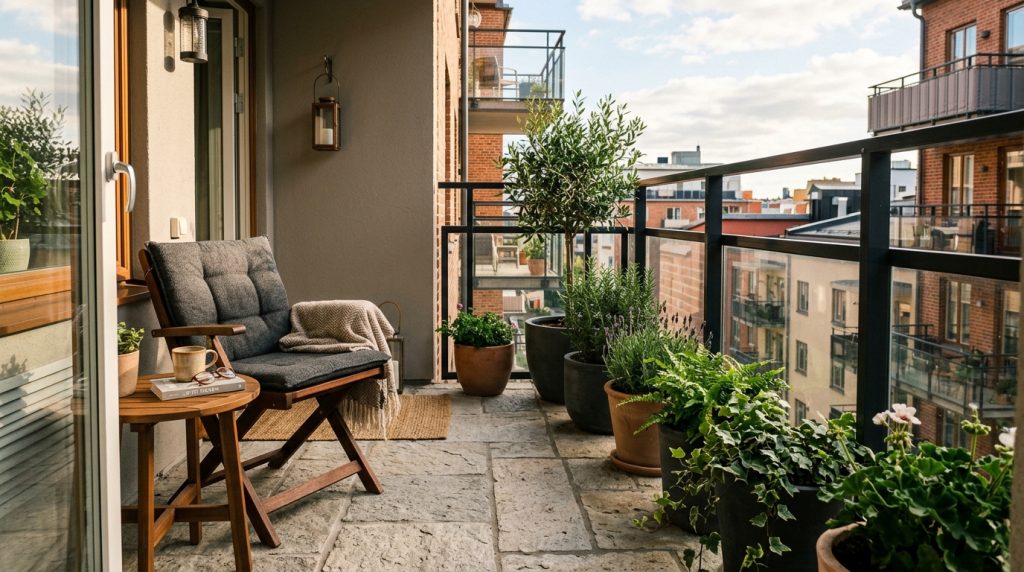
An outdoor rug style tile layout creates a central pattern that mimics a rug. This design defines a focal area within the balcony. It is suitable for aesthetic decoration and structured layouts.
The process includes placing patterned tiles in the center and plain tiles around them. Adhesive is applied evenly. Grout secures the tiles. This method creates a balanced and decorative surface.
Common Beginner Mistakes and How to Avoid Them
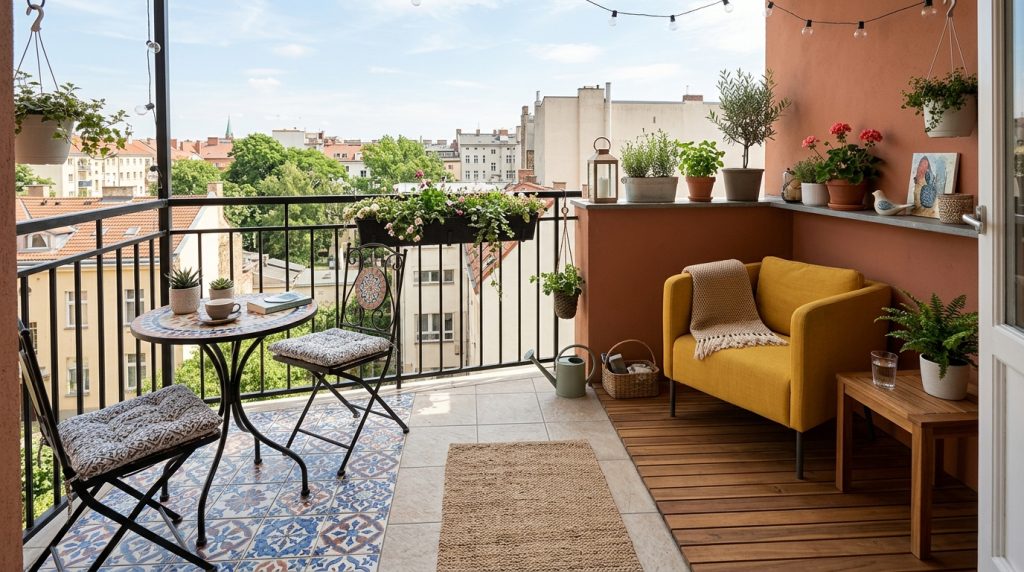
Incorrect surface preparation is a common issue that leads to poor tile adhesion. Always clean and level the surface before installation. Skipping waterproofing can cause long-term damage. Using improper spacing results in uneven layouts. Accurate measurement and planning prevent these problems.
Practical Tips for Better Results
Use high-quality materials suitable for outdoor use. Maintain consistent spacing for alignment. Check levels regularly during installation. Apply protective sealant for durability. These steps improve overall results.
Styling, Presentation, or Organization Ideas
Use simple furniture to maintain balance. Add plants for natural elements. Keep the layout uncluttered. Use lighting for improved visibility. Proper styling enhances the overall aesthetic.
Budget or Time Planning
Plan the budget based on tile type and size. Use modular tiles for faster installation. Allocate time for preparation and finishing. Efficient planning ensures smooth execution.


